材料清单
- Arduino Uno开发板
- WS2812B LED灯条(数量根据需求而定)
- 杜邦线若干
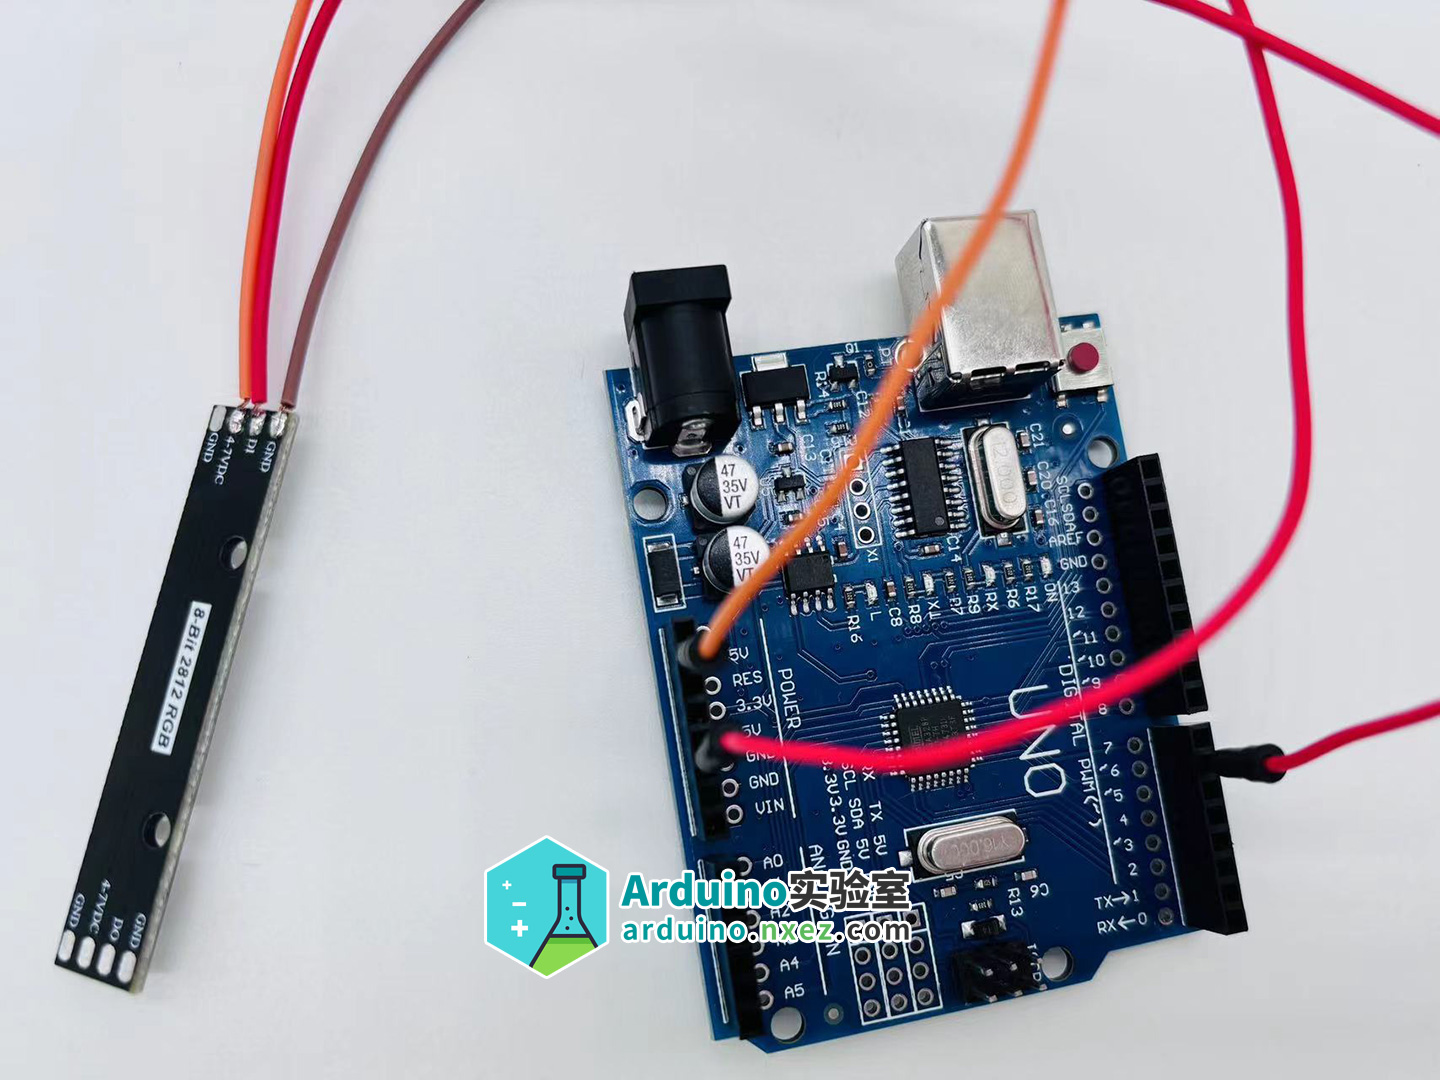
连接硬件
将 WS2812 灯条的 4-7VDC 引脚连接到 Arduino Uno 的 5V 引脚。
将 WS2812 灯条的 GND 引脚连接到 Arduino Uno 的 GND 引脚。
将 WS2812 灯条的 DI(数据输入)引脚连接到 Arduino Uno 的数字 6 引脚。
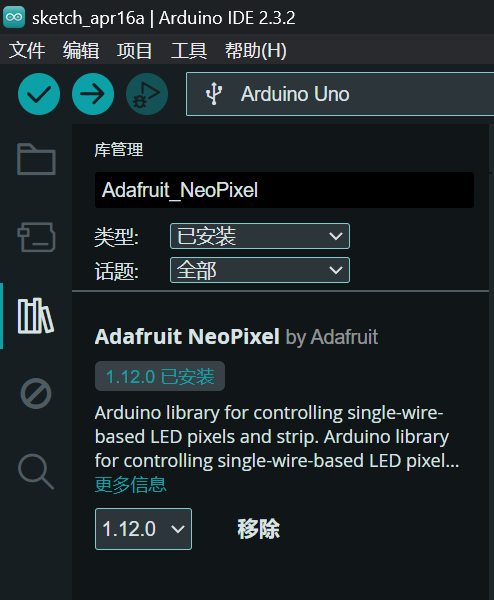
安装库文件
在IDE中点击「工具」—「管理库」,查找「Adafruit_NeoPixel 」进行安装。
使用 Adafruit_NeoPixel 库可以让 Arduino 或 ESP8266 很方便地驱动 WS2812 灯条。
编写代码
打开Arduino IDE软件。
创建一个新的空白项目。
复制以下代码到项目中:
#include <Adafruit_NeoPixel.h>
#ifdef __AVR__
 #include <avr/power.h> // Required for 16 MHz Adafruit Trinket
#endif

// 控制 WS2812 灯条的引脚编号
#define PIN        6

//定义控制的 LED 数量
#define NUMPIXELS 8

Adafruit_NeoPixel pixels(NUMPIXELS, PIN, NEO_GRB + NEO_KHZ800);

//相邻 LED 之间的延迟,单位毫秒
#define DELAYVAL 500

void setup() {
  // These lines are specifically to support the Adafruit Trinket 5V 16 MHz.
  // Any other board, you can remove this part (but no harm leaving it):
#if defined(__AVR_ATtiny85__) && (F_CPU == 16000000)
  clock_prescale_set(clock_div_1);
#endif
  // END of Trinket-specific code.

  pixels.begin(); // INITIALIZE NeoPixel strip object (REQUIRED)
}
 // 在这里编写你的代码,控制LED灯条的亮灭和颜色
void loop() {
  pixels.clear(); // Set all pixel colors to 'off'

  // The first NeoPixel in a strand is #0, second is 1, all the way up
  // to the count of pixels minus one.
  for(int i=0; i<NUMPIXELS; i++) { // For each pixel...

    // pixels.Color() takes RGB values, from 0,0,0 up to 255,255,255
    // Here we're using a moderately bright green color:

    pixels.setPixelColor(i, pixels.Color(150, 150, 20));

    pixels.show();   // Send the updated pixel colors to the hardware.

    delay(DELAYVAL); // Pause before next pass through loop
  }
}
在loop()函数中编写你的控制代码,用于控制LED灯条的亮灭和颜色。
将 Arduino Uno 开发板连接到计算机上。
在 Arduino IDE 软件中选择正确的开发板和端口。
点击上传按钮将代码上传到 Arduino Uno 开发板。
通过以上步骤,你就可以使用 Arduino 驱动 WS2812 LED 灯条了。根据你的控制代码,LED 灯条将显示不同的亮灭和颜色效果。
你还可以:
查看系列教程中的其他文章
购买本教程所用到的 Pico 套件


发表评论
要发表评论,您必须先登录。